Add an AI Voiceover to a Video: A Noiz Studio Guide
A voiceover can sound clear on its own and still feel wrong against the picture. Narration that arrives after an action, explains the previous shot, or rushes through a tutorial makes viewers work to connect the words with what they see. A useful review checks both: does the voice communicate the script, and does the script belong with the current shot?
This walkthrough documents one English-language Noiz Studio AI Dubbing project: a 15-second silent animation of a girl reading a magic book, with a short opening narration added. The clip was uploaded, placed on the timeline, given one voice segment, previewed, and exported as an MP4. It is a focused example—not a demonstration of automatic narration writing, timing, or lip-sync.
Quick answer: In an open project, upload a prepared video. Hover over its card in Assets and choose Add asset. Then go to Speech → + Add segment → Type this voice block, enter a script, choose a voice and click Use, then click Generate. Use the segment’s Play control to review the voice, then the timeline’s main Play control to review it with the video. Export with Export → Video → MP4 → 720p → Export.
1. Upload a prepared clip
This example starts inside an open AI Dubbing project. Upload story-silent.mp4 in Assets, then confirm the thumbnail is the intended animation. The source clip was muted locally before upload. That preparation happened outside Noiz Studio; this guide does not demonstrate removing original audio in the product.
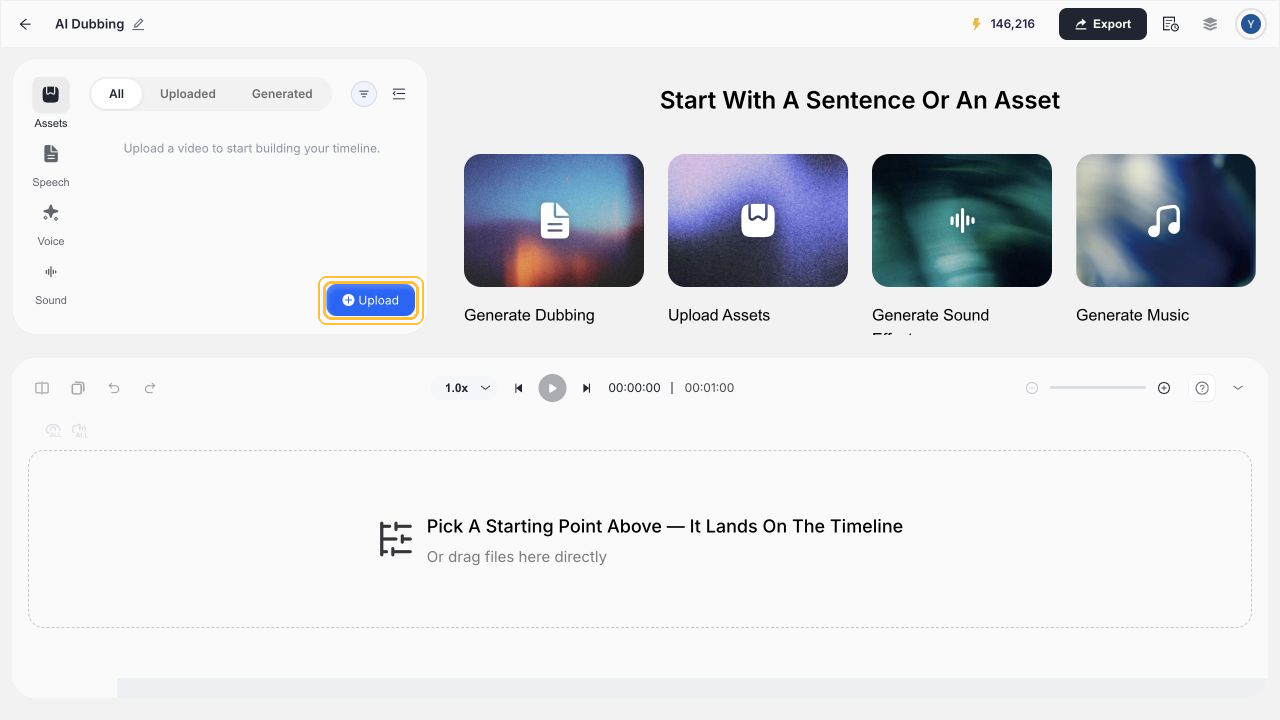
If your source has dialogue, music, or room tone, decide what should remain before following this example. A silent sample cannot establish how an existing soundtrack will be handled.
2. Add the video to the timeline
Hover over the clip card in Assets until Add asset appears, then click it. Uploading places a file in the project’s asset area; adding it to the timeline is a separate step. Confirm the timeline and preview show the same clip before writing narration.
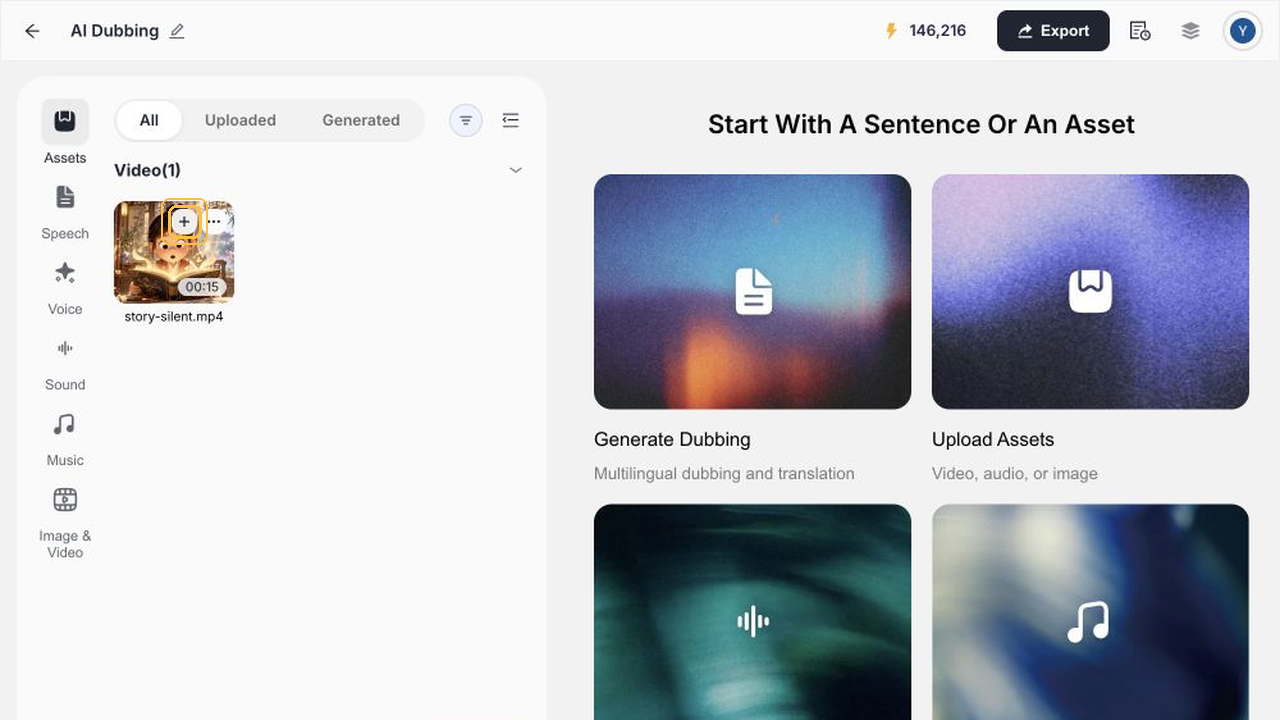
The sample is 15 seconds long. Decide whether the voice should introduce the opening or carry information across more of the video. Do not assume a generated segment automatically fills the full clip.
3. Write for the shot
Choose Speech → + Add segment → Type this voice block and enter a script that matches the visible action. The sample narration was:
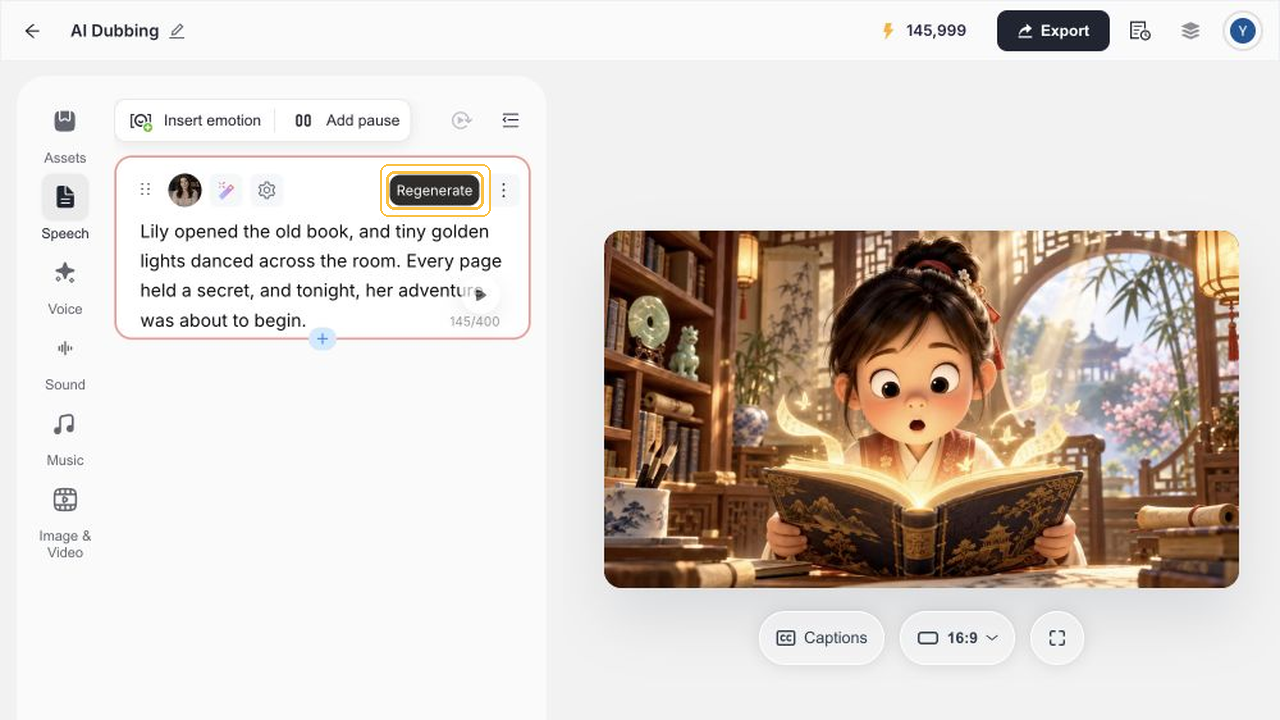
Lily opened the old book, and tiny golden lights danced across the room. Every page held a secret, and tonight, her adventure was about to begin.
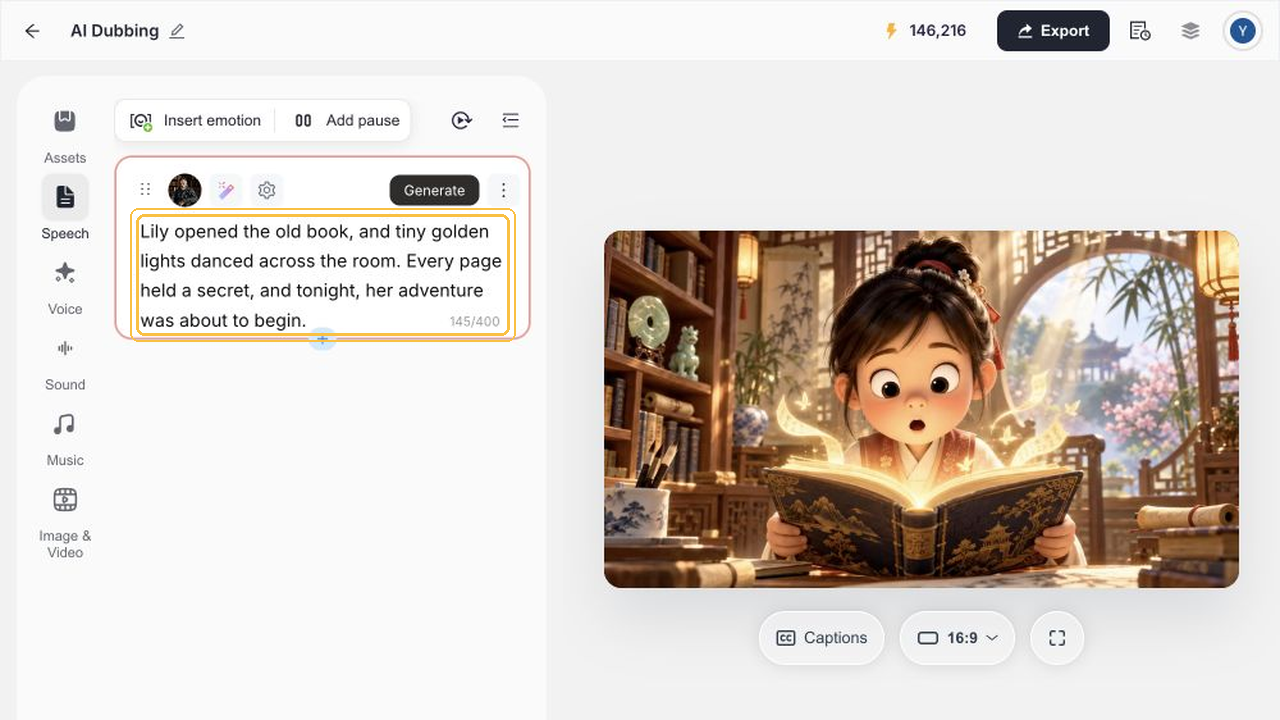
This was one 145-character English voice block. The workflow did not generate a script from the video, align words to individual actions, or test multiple speakers. Keep an external copy of the script so you can compare it with the result.
4. Choose a voice and generate
Open the voice selector, choose The Healer (Serena), and click Use. Listen for fit with the story and intended audience; a recommended voice is a starting point, not a universal choice.
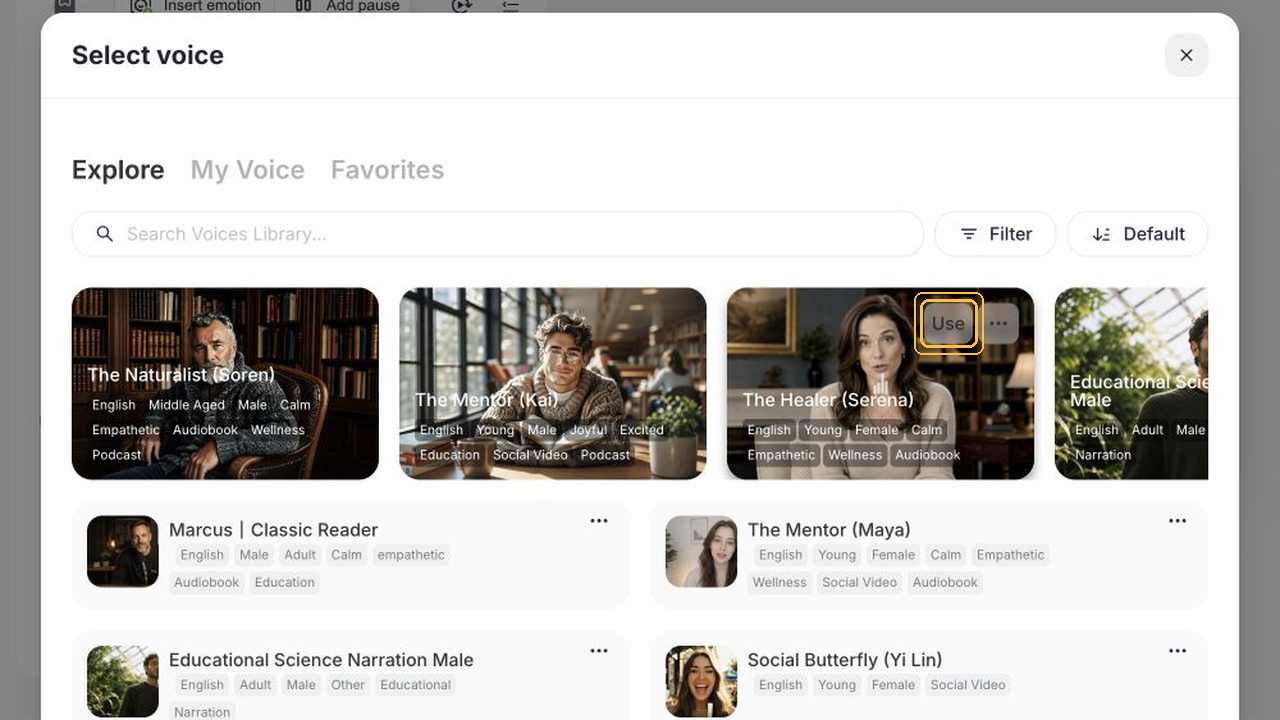
Click Generate and wait for the segment’s result state. This example records one generation. Although Regenerate was visible in the interface, it was not tested, so no claim is made about its behavior or cost.
5. Review the voice and the whole video
First click the segment’s Play control and compare the spoken words with the script. Then use the timeline’s main Play control to review narration against the animation. These checks answer different questions: whether the voice sounds right, and whether it arrives at a useful moment in the edit.
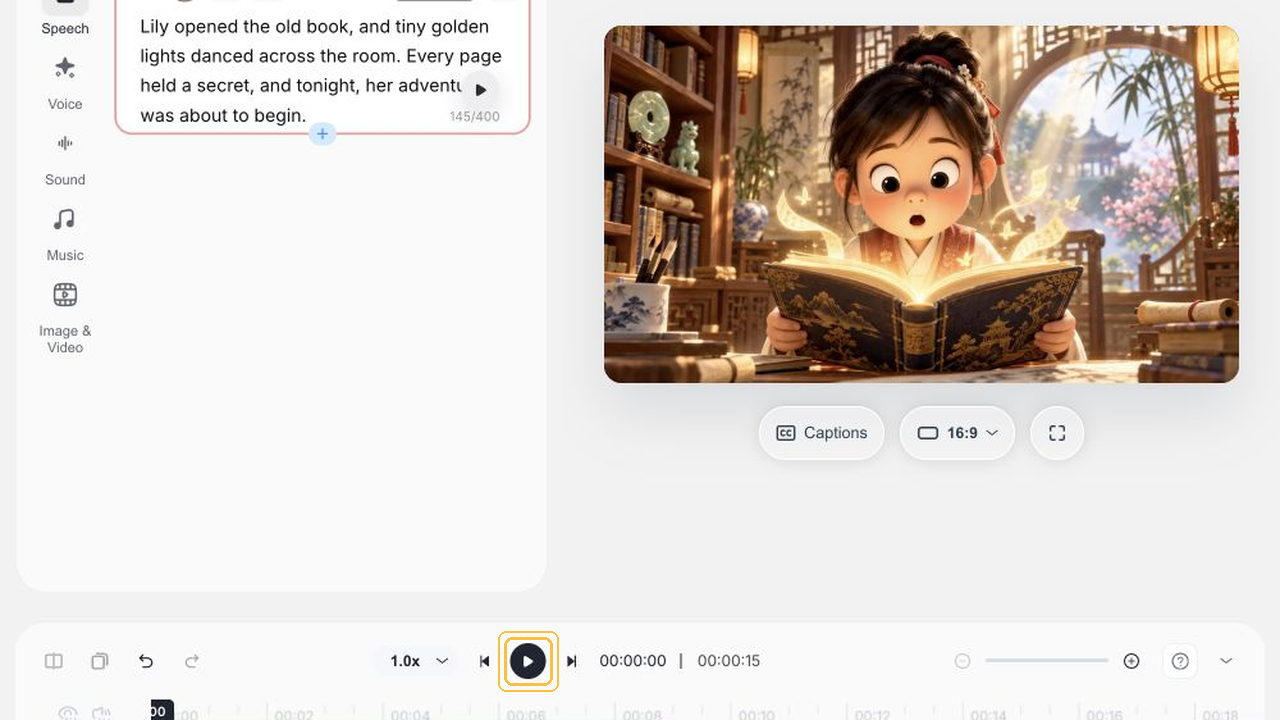
The sample voice segment is about nine seconds while the picture runs for 15 seconds. The ending therefore has picture without narration; that gap is not evidence of automatic duration matching. For other projects, check names, actions, pacing, and any original audio you intend to keep.
6. Export and inspect the MP4
Choose Export → Video → MP4 → 720p → Export. After export, open the file and confirm that the picture and sound are present and the ending is intentional.
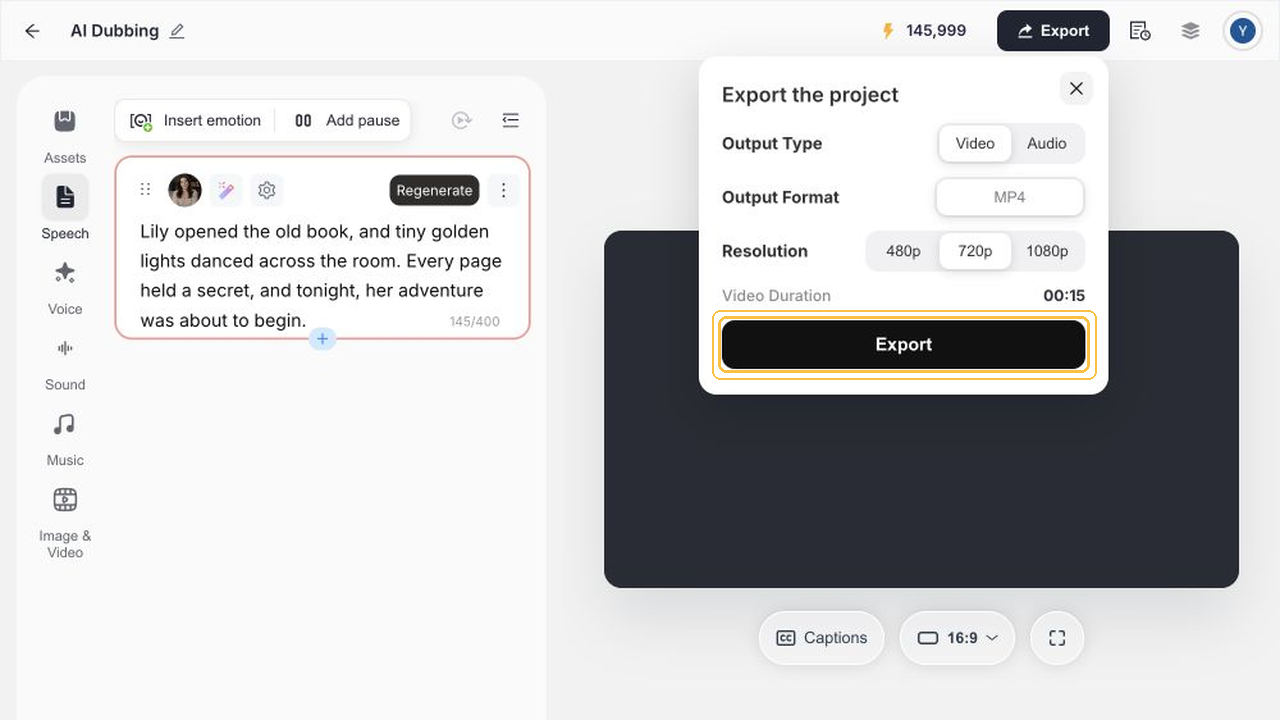
The exported sample was checked at 15.040998 seconds, 1280 × 720, with 44.1 kHz stereo audio. These are observations about this export, not guaranteed output settings for every project.
Review priorities by video type
Short drama or comics: Track who speaks and when each line enters. This single-narrator sample does not verify multi-character assignment or dialogue turns.
Film commentary: Check every statement against the shot and the scene order. Original-film audio handling was not tested here.
Faceless video: Give each visual a clear information role, and make sure the narration still makes sense without on-screen text.
Product tutorials: Keep spoken instructions aligned with the visible controls. Leave enough time for viewers to complete each action.
What this workflow verifies
| Capability | Evidence from this example |
|---|---|
| Upload and add a video to the timeline | Completed with a 15-second silent animation |
| Enter text, choose a voice, and generate | One 145-character English segment; Serena selected |
| Listen to the segment and preview the timeline | Both playback checks completed |
| Export an MP4 | File checked at 15.040998 seconds, 1280 × 720, 44.1 kHz stereo |
| Remove source audio, write narration from video, match duration, lip-sync, or create multiple roles | Not verified in this workflow |
Start with one scene
Prepare a clip, add it to an open Studio project, write narration for the visible action, and review the segment and full timeline separately before exporting.
Open Noiz Studio. This link opens Studio; the walkthrough starts inside an existing project.
Related guide: Translate a video with AI.