How to Rewrite Video Dialogue in Noiz Studio: From Line Edit to Final Audit
When rewriting dialogue in an existing video, the most overlooked factor is how a single edited sentence fits into the wider sequence. An ad script changes a pricing figure while the footage still displays the old promotional graphic; a creator updates a terminology error, but the re-synthesized line creates an unnatural cadence against the following sentence. Correcting words is only step one—the final test is verifying sound against picture.
A second challenge occurs during transcription. Auto-generated transcripts are unedited machine hypotheses: missed words, unnatural line breaks, and dropped whitespace can distort your editing decisions. Auditing the original transcript against source audio first prevents compounding recognition mistakes into newly synthesized speech.
This guide starts directly inside an active Noiz Studio Rewrite Lines project using a 15-second trilingual animation story-with-dialogue.mp4 depicting a girl reading. In this walkthrough, the first line is modified while retaining the remaining nine segments unchanged. Speech re-synthesis, original video track muting, full timeline playback, and MP4 video export were all successfully executed.
Quick answer: Upload the source video, click Add asset on the media card to place it onto the timeline, and right-click the video clip to select Split Audio. In this project, an audio asset is created in Assets; click Add asset on that audio clip to populate an independent timeline track, then right-click that track to select AI Tools → Re-dub. Audit the generated lines, rewrite the target sentence, and click Reset Dubbing to synthesize. Manually mute the original video track, play through the entire sequence, and export via Export → MP4 → 720p → Export.
Upload the Source Video Footage
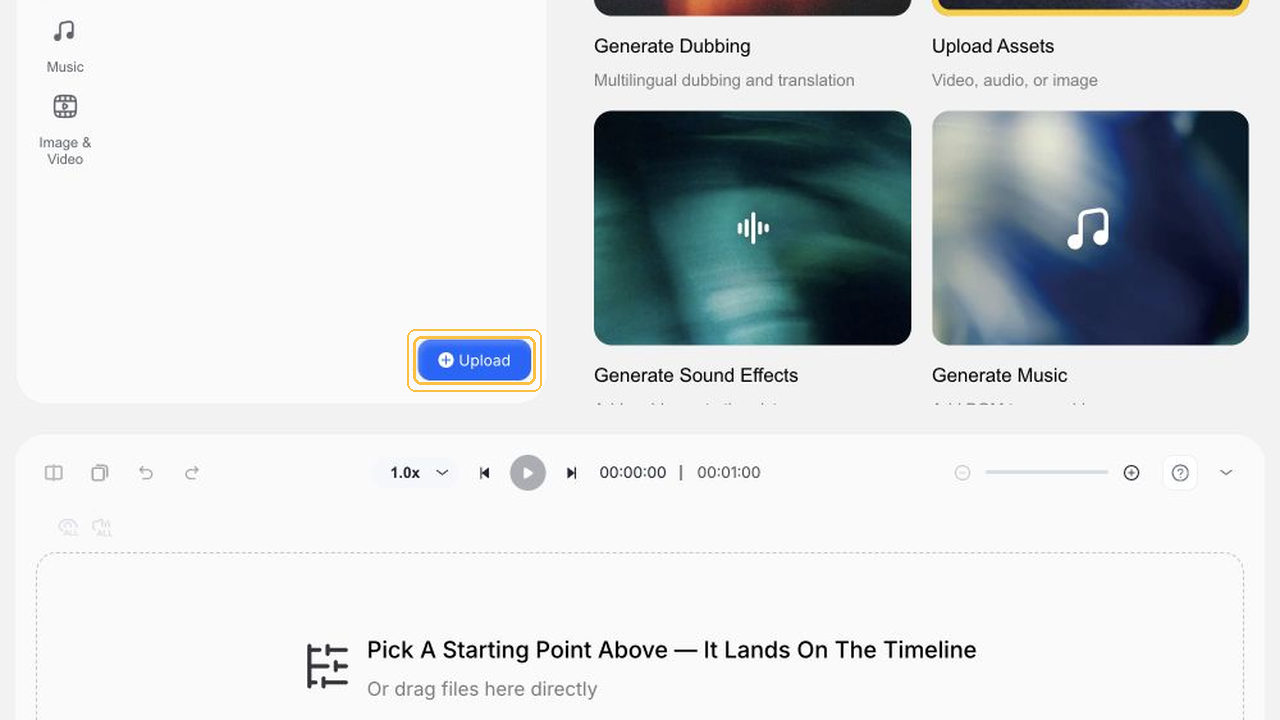
Inside the active Rewrite Lines project, click Upload and import story-with-dialogue.mp4. The source file is approximately 15 seconds long with trilingual dialogue. This tutorial begins inside the project canvas without repeating dashboard navigation.
Before editing text, listen carefully to 10 to 15 seconds of original audio and transcribe the exact target phrase alongside its replacement. Even for minor single-word updates, preserve preceding and following sentences as benchmarks. Without baseline context, distinguishing natural vocal flow from newly introduced artifacts becomes nearly impossible.
Add the Video Footage to the Timeline
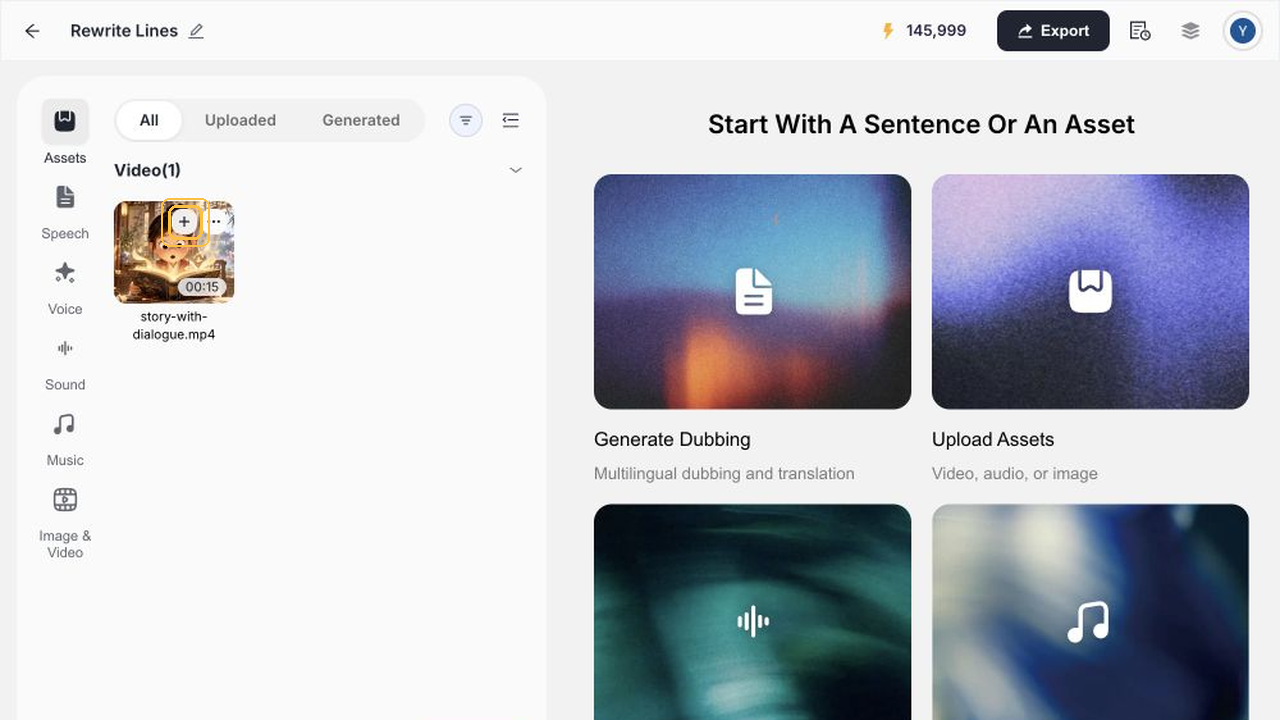
Once upload finishes, hover over the video card in Assets and click Add asset to drop it onto the timeline. Verify that both the preview viewport and timeline tracks display the identical animation clip.
Uploading to the media library and populating the timeline are distinct steps. Timeline clips provide the context menu for audio operations, whereas Assets cards handle asset insertion. If no video track exists on your timeline yet, complete this step before searching for editing tools.
Separate Audio and Inspect Media Assets
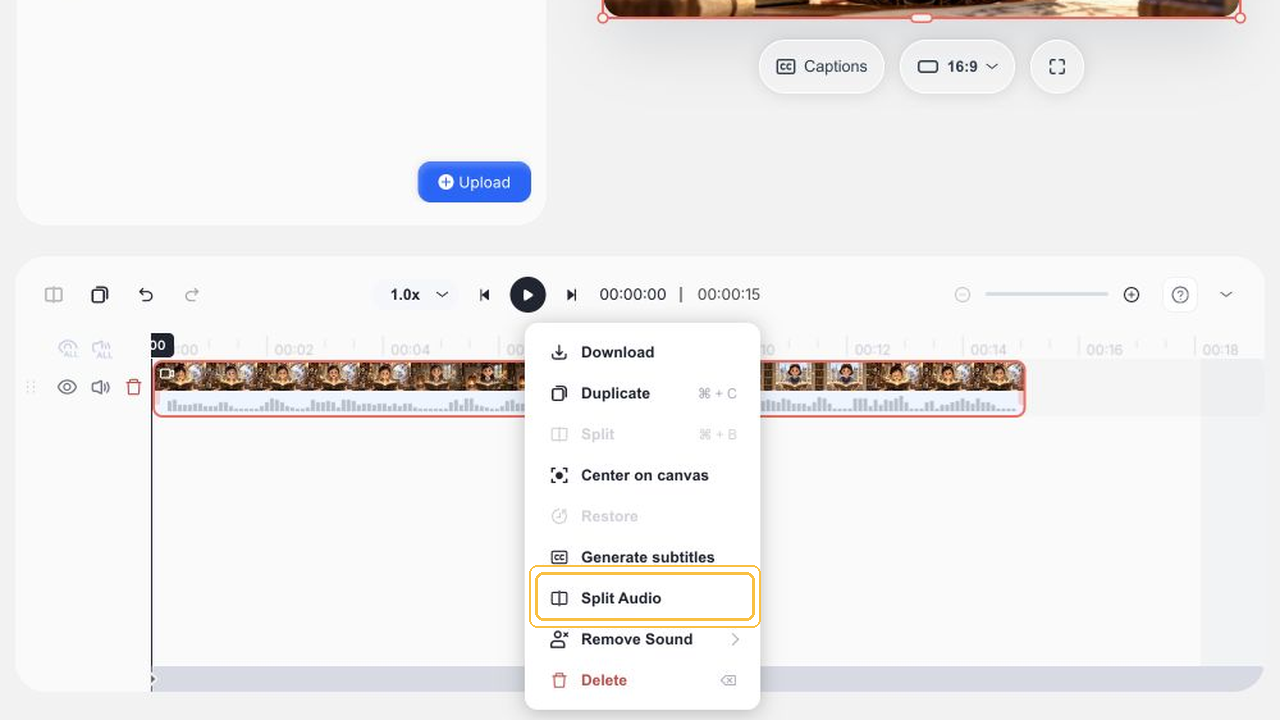
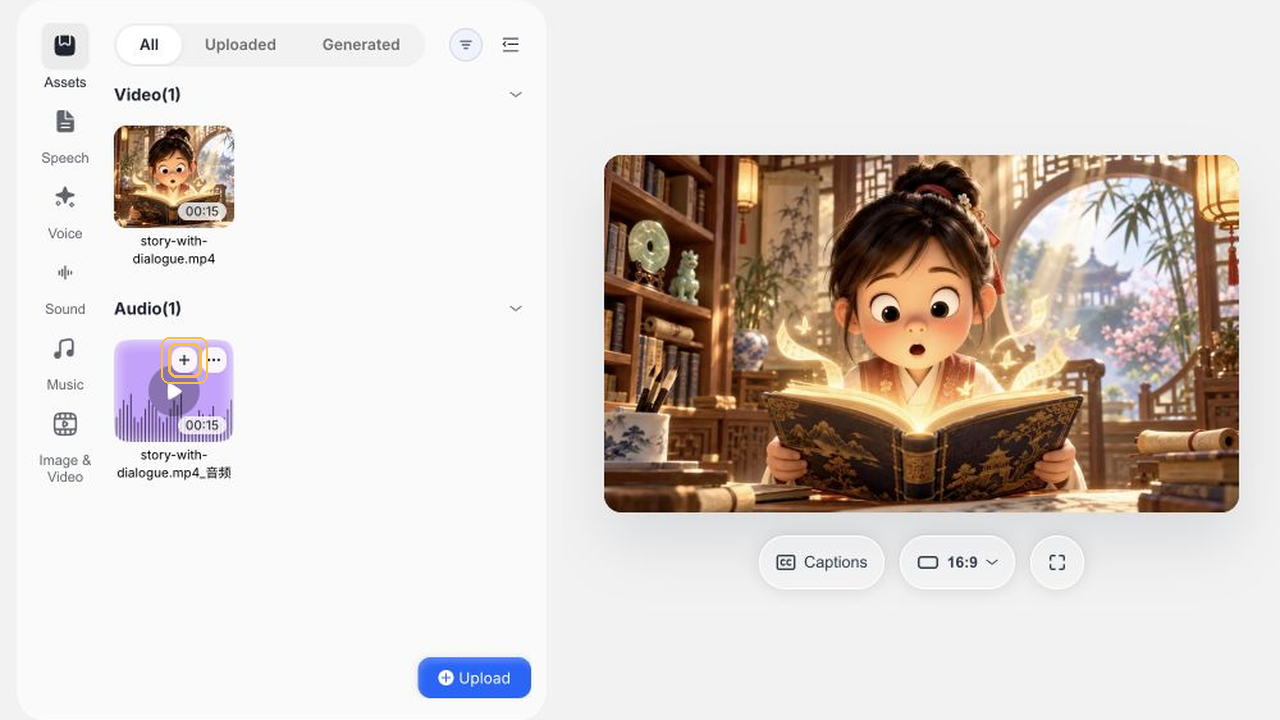
Right-click the video clip on the timeline and choose Split Audio. In this verified workflow, the system generates an audio item in the Assets bin rather than automatically routing it into an independent track.
Observe the actual interface state after executing Split Audio rather than assuming an audio track has magically materialized. Inspect the newly created audio asset and confirm its relationship to your source footage. Separating asset generation from track population is critical for predictable results.
Place Audio Asset onto an Independent Track
Hover over the newly created audio asset in the Assets panel and click Add asset. An independent audio track now appears on the timeline, establishing the precise target needed for downstream Re-dub operations.
If the contextual menu does not display the expected options, confirm whether the selected track is video or audio before attempting additional splits. Retaining both source video and isolated audio tracks facilitates later cross-checking of original delivery against newly synthesized lines.
Open Re-dub and Proofread Speech Recognition
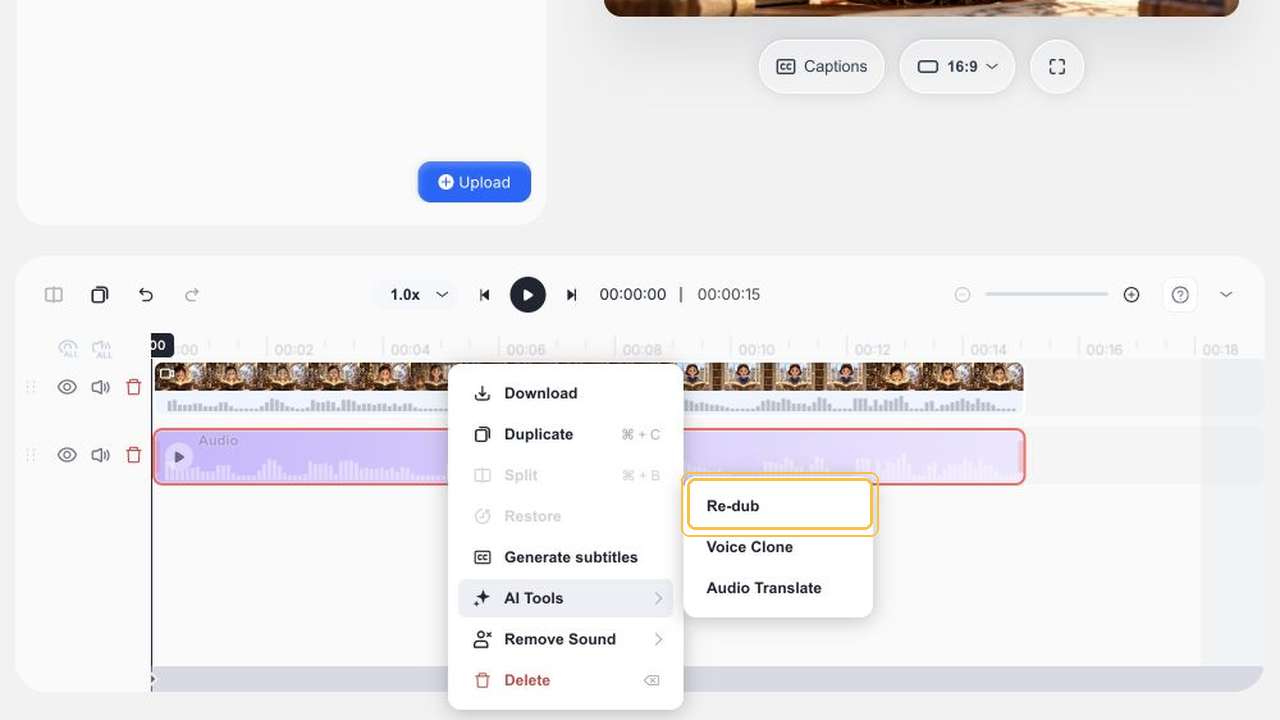
Right-click the independent audio track and navigate to AI Tools → Re-dub. Following recognition, the Speech panel populates with 10 speech segments tagged with Original Voice indicators alongside an isolated background sound track.
Read the recognized text against the source audio. Automated recognition may drop spacing or punctuate awkwardly, meaning raw transcription should never be treated as final publication copy. Scrutinize proper nouns, numerals, negations, and clause boundaries where subtle transcription inaccuracies alter narrative meaning.
The emergence of a background track indicates a dedicated channel has been provisioned; it does not guarantee lossless acoustic separation or flawless instrumental preservation. Critical listening against original audio remains mandatory.
Edit Target Line and Synthesize with Reset Dubbing
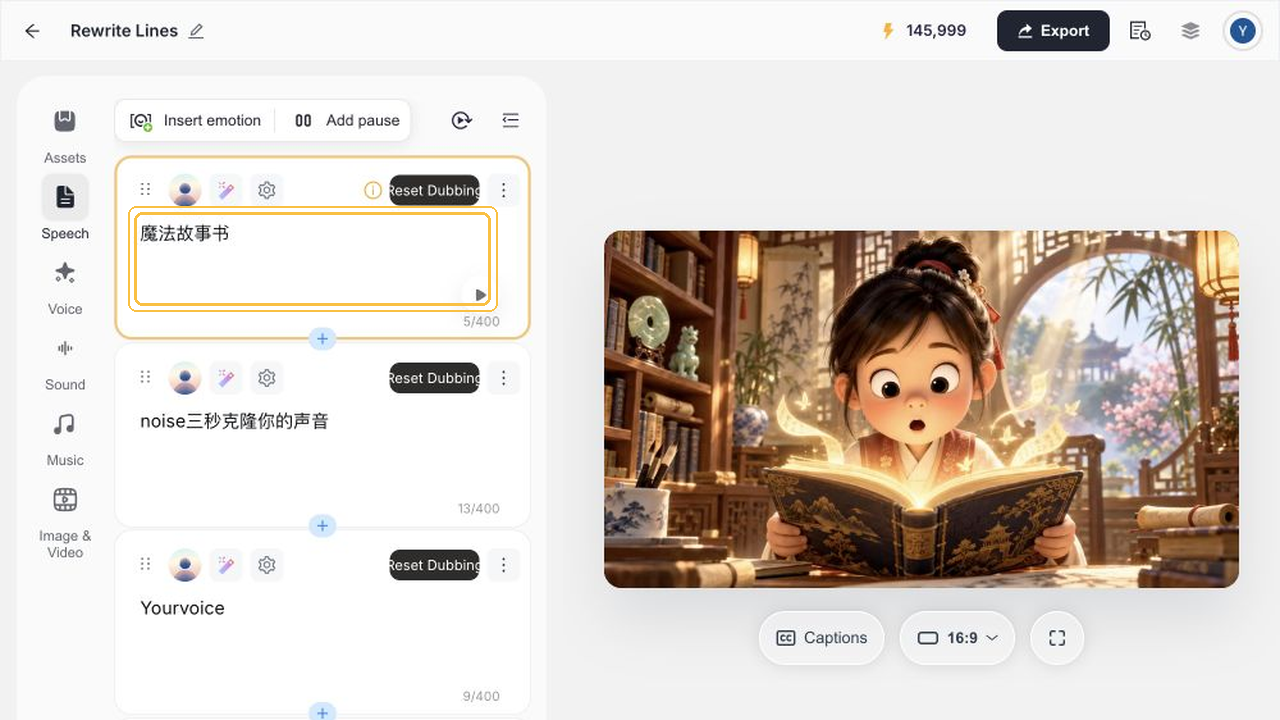
Select the first speech block, edit the target phrasing, and leave the remaining nine segments untouched. Click the interface's actual Reset Dubbing button to re-synthesize the line instead of searching for a generic Generate button.
Limiting edits to a single sentence establishes a clear verification boundary, but authors must not assume unedited segments are immune to system adjustments. Always audit the entire clip from start to finish once synthesis completes, checking transition edges between modified and untouched segments.
This test utilizes a concise phrasing modification. It does not validate extensive script rewrites, character timbre overhauls, or automated facial lip synchronization. If an edited sentence is significantly longer than original audio, verify that it fits comfortably within the shot's duration.
Mute Original Track and Audit Full Playback
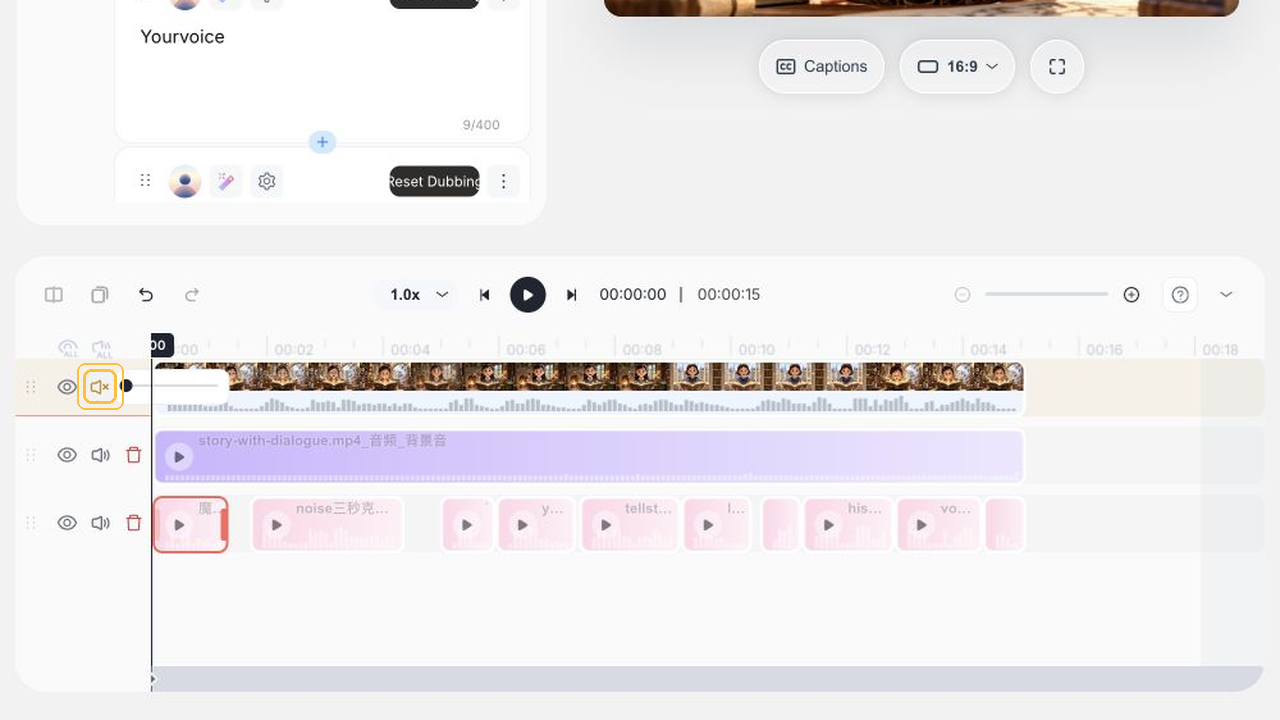
Click the speaker icon on video track 1 to manually mute original video sound. The interface confirms this with a yellow mute badge and volume slider set to 0. Play through the complete 15-second sequence from start to finish.
Original video tracks do not mute automatically during Re-dub. Manual muting prevents jarring acoustic overlaps between original speech and newly synthesized lines.
Structure your audit across three tiers: first, ensure the modified line enunciates new phrasing cleanly; second, verify adjacent sentences remain crisp without repetition or unnatural gaps; third, evaluate overall narrative harmony across video, vocal performance, and background audio.
Confirm Edit Boundaries and Export Final Video
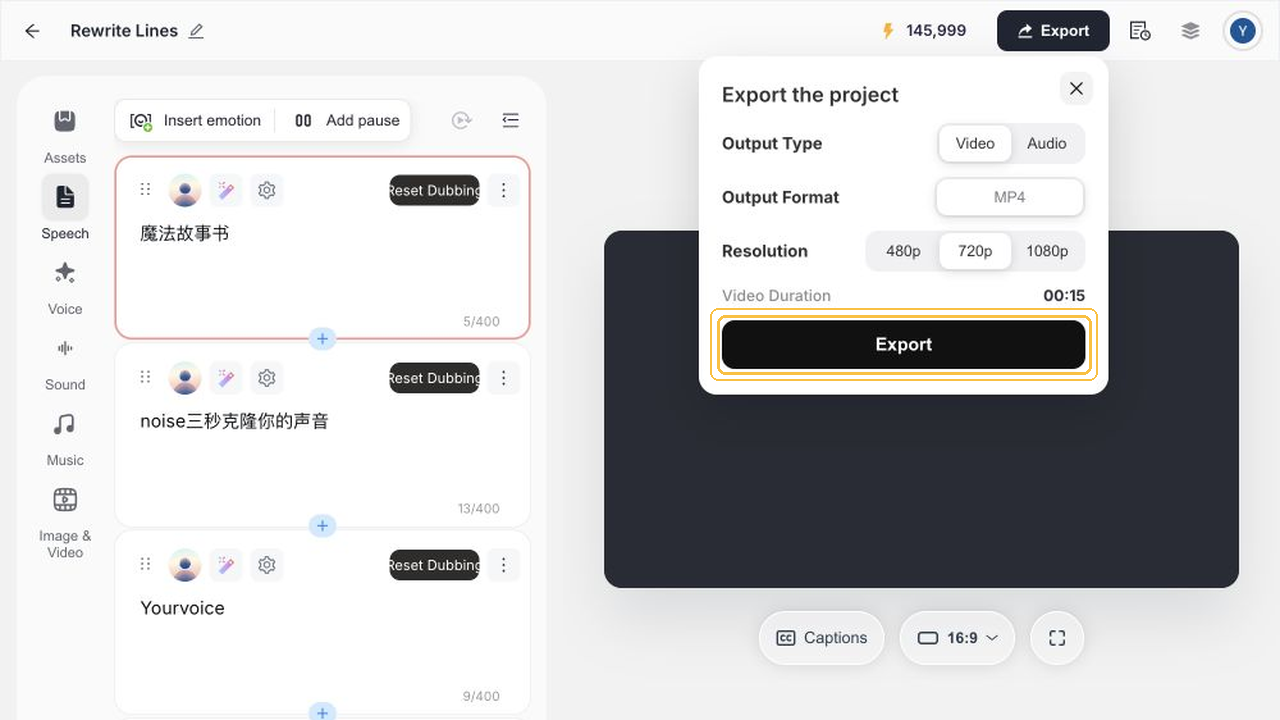
Click Export, choose MP4 container format with 720p resolution, and click Export. The resulting file delivers verified dimensions of 1280x720, 15.069 seconds duration, and 44100Hz stereo audio with clean zero-error decoding.
File validation confirms physical container integrity, encoding compliance, and decoding health, but cannot substitute for editorial scrutiny. Compare the rendered cut against raw footage before client sign-off, confirming exact textual and emotional alignment.
Review Standards Across Four Dialogue Rewrite Workflows
Short Drama Iterations: Dialogue Must Match Visual Reactions
In serial short dramas, revising a single line can transform character motivations. If a suspicious facial expression is paired with an overly affirmative statement, dramatic tension collapses. Map dialogue edits to shot transitions to ensure emotional cohesion.
Film & Animation Secondary Creation: Preserve Beat Timing
Dialogue in animation and cinema hinges on micro-pauses and visual gags. If new comedic beats miss visual cut points, even well-phrased lines feel detached. Align character cadence to motion cues.
Ad Campaign Versioning: Keep Audio and On-Screen Copy in Sync
Commercial updates frequently adjust pricing, promo deadlines, or calls-to-action. If voiceover announces new terms while on-screen text shows expired offers, viewer trust degrades. Cross-examine sound against graphic cards.
Creator Talking-Head Updates: Correct Facts Without Jarring Edits
Correcting a technical figure or brand pronunciation in a creator commentary requires surgical pacing. Review the edit boundaries to eliminate vocal seams and abrupt tone shifts.
Capability Boundaries and Verification Scope
This reference strictly reflects observed product behavior and verified exports without conjecturing unverified capabilities:
Capability Item | Verification Status | Observed Boundaries |
|---|---|---|
Upload & Timeline Insertion | Verified Native Feature | Tested on 15s trilingual animation MP4 |
Split Audio & Asset Addition | Verified Native Feature | Requires explicit Add asset to populate track |
AI Tools → Re-dub | Verified Native Feature | Yielded 10 Original Voice segments + background track |
Line Editing & Reset Dubbing | Verified Native Feature | First sentence modified and synthesized cleanly |
Synthesis, Track Mute & Preview | Verified Native Feature | Track 1 manual mute, full 15s timeline preview |
MP4 Video Export | Verified Native Feature | 15.069s, 1280x720, 44.1kHz stereo audio, zero errors |
Complete Voice Fidelity / Auto Lip-Sync | Unverified in this Flow | No unconditional automation claims made |
Begin With a Targeted Dialogue Revision
Start with a concrete script modification, inspect isolated audio and recognition accuracy, synthesize via Reset Dubbing, and audit the entire timeline before rendering final deliverables.
Open Noiz Studio to begin editing dialogue in your video production workflows.